Loading... Please wait...

Iron On Patches 101

DIY PROJECT:
Iron On Patches 101
Patches are a super easy & fast way to put your mark on just about anything!! Go wild & patch it up!
- Makes: Varies
- Skill Level: Beginner
- Time: 15 Minutes
-

- Iron on patches
- Something to put patches on (to iron on, ensure that garment is safe to iron on the high setting)
- Iron
- Hard, heat tolerant surface
- Scrap fabric
Now Let's Get Messy!
-
STEP 1: Choose a garment or accessory to apply patch to. Choose something that can be ironed on the cotton setting (high). Cotton works best as it can tolerate high heat. Delicate materials, such as silk & synthetics, should not be ironed (try gluing or stitching instead). Stretchy materials are also off limits. Pretest your garment for heat tolerance.
-

STEP 2: Wash & dry fabric without using fabric softener or dryer sheets. This will help to preshrink the material & remove any existing fabric softener. Fabric softener coats the fibers & blocks iron-on adhesive from forming a strong bond with the fabric.
-
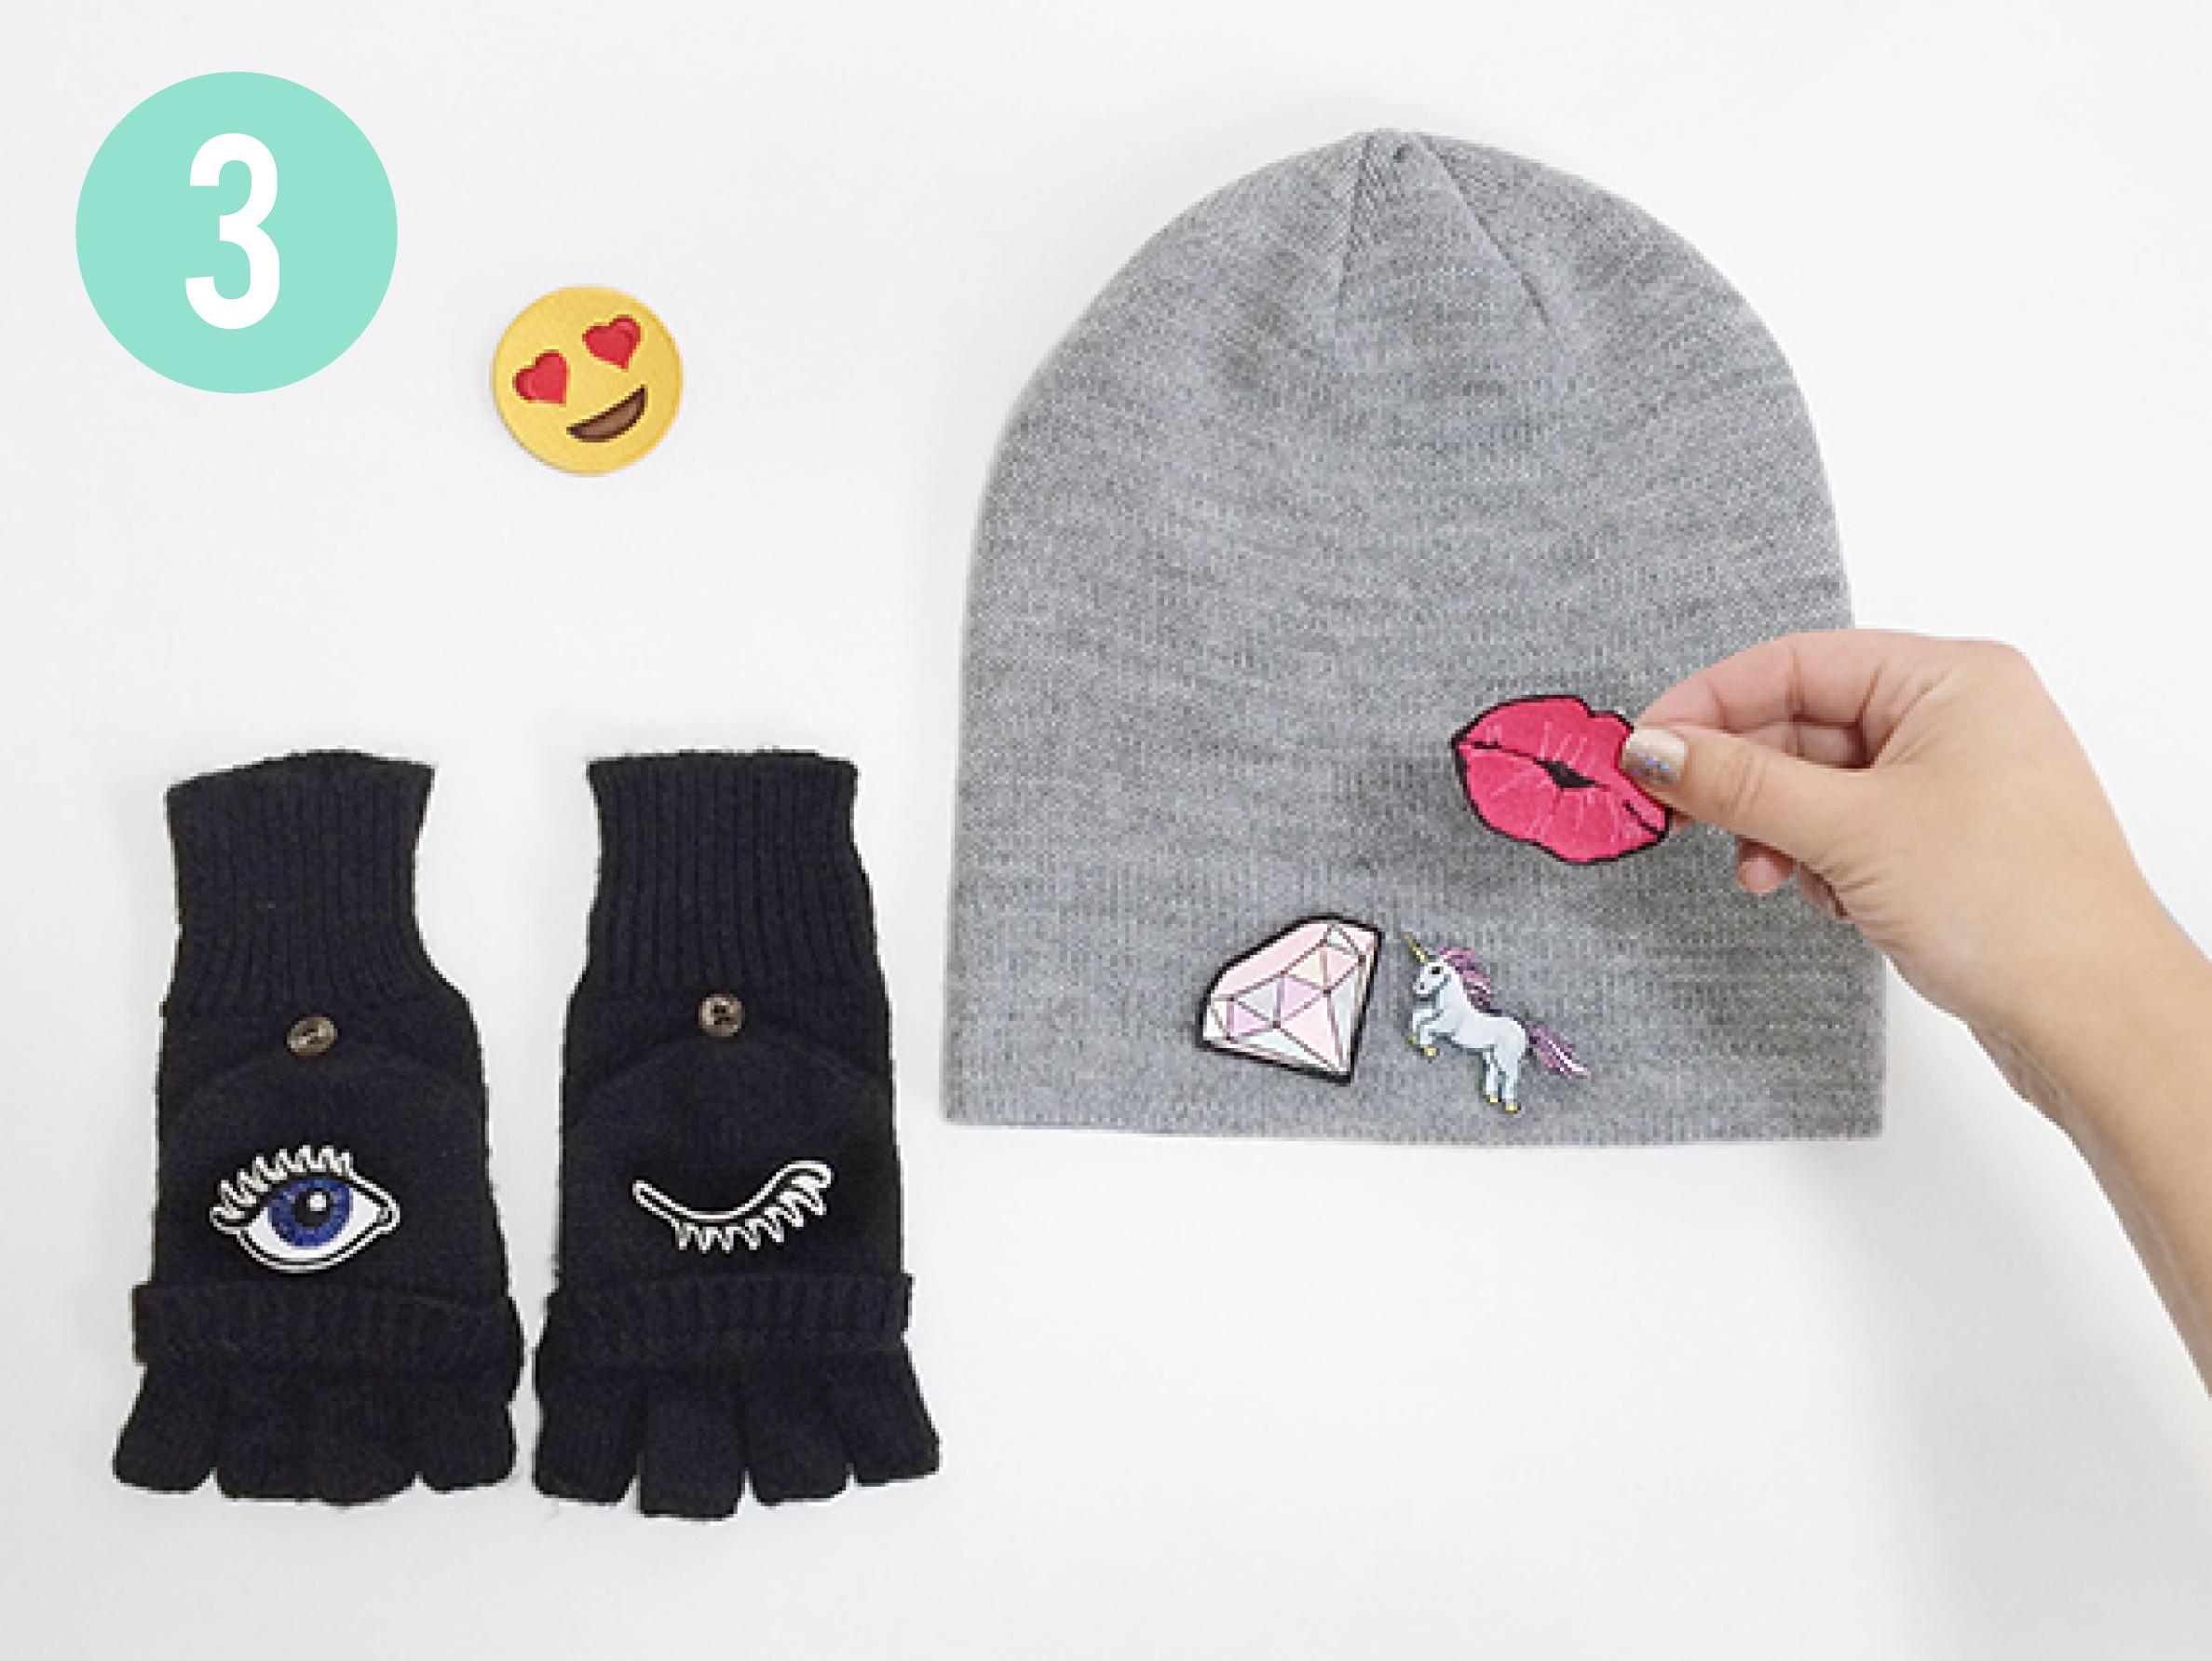
STEP 3: Plan your design & prepare your work area! Figure out where you want to place your patches! Lay your garment on a hard, heat tolerant surface. Tables or countertops are better than ironing boards as they provide a firmer surface. You may want to protect your work surface with a piece of heat tolerant scrap fabric. Preheat iron to cotton setting & do not use steam.
-
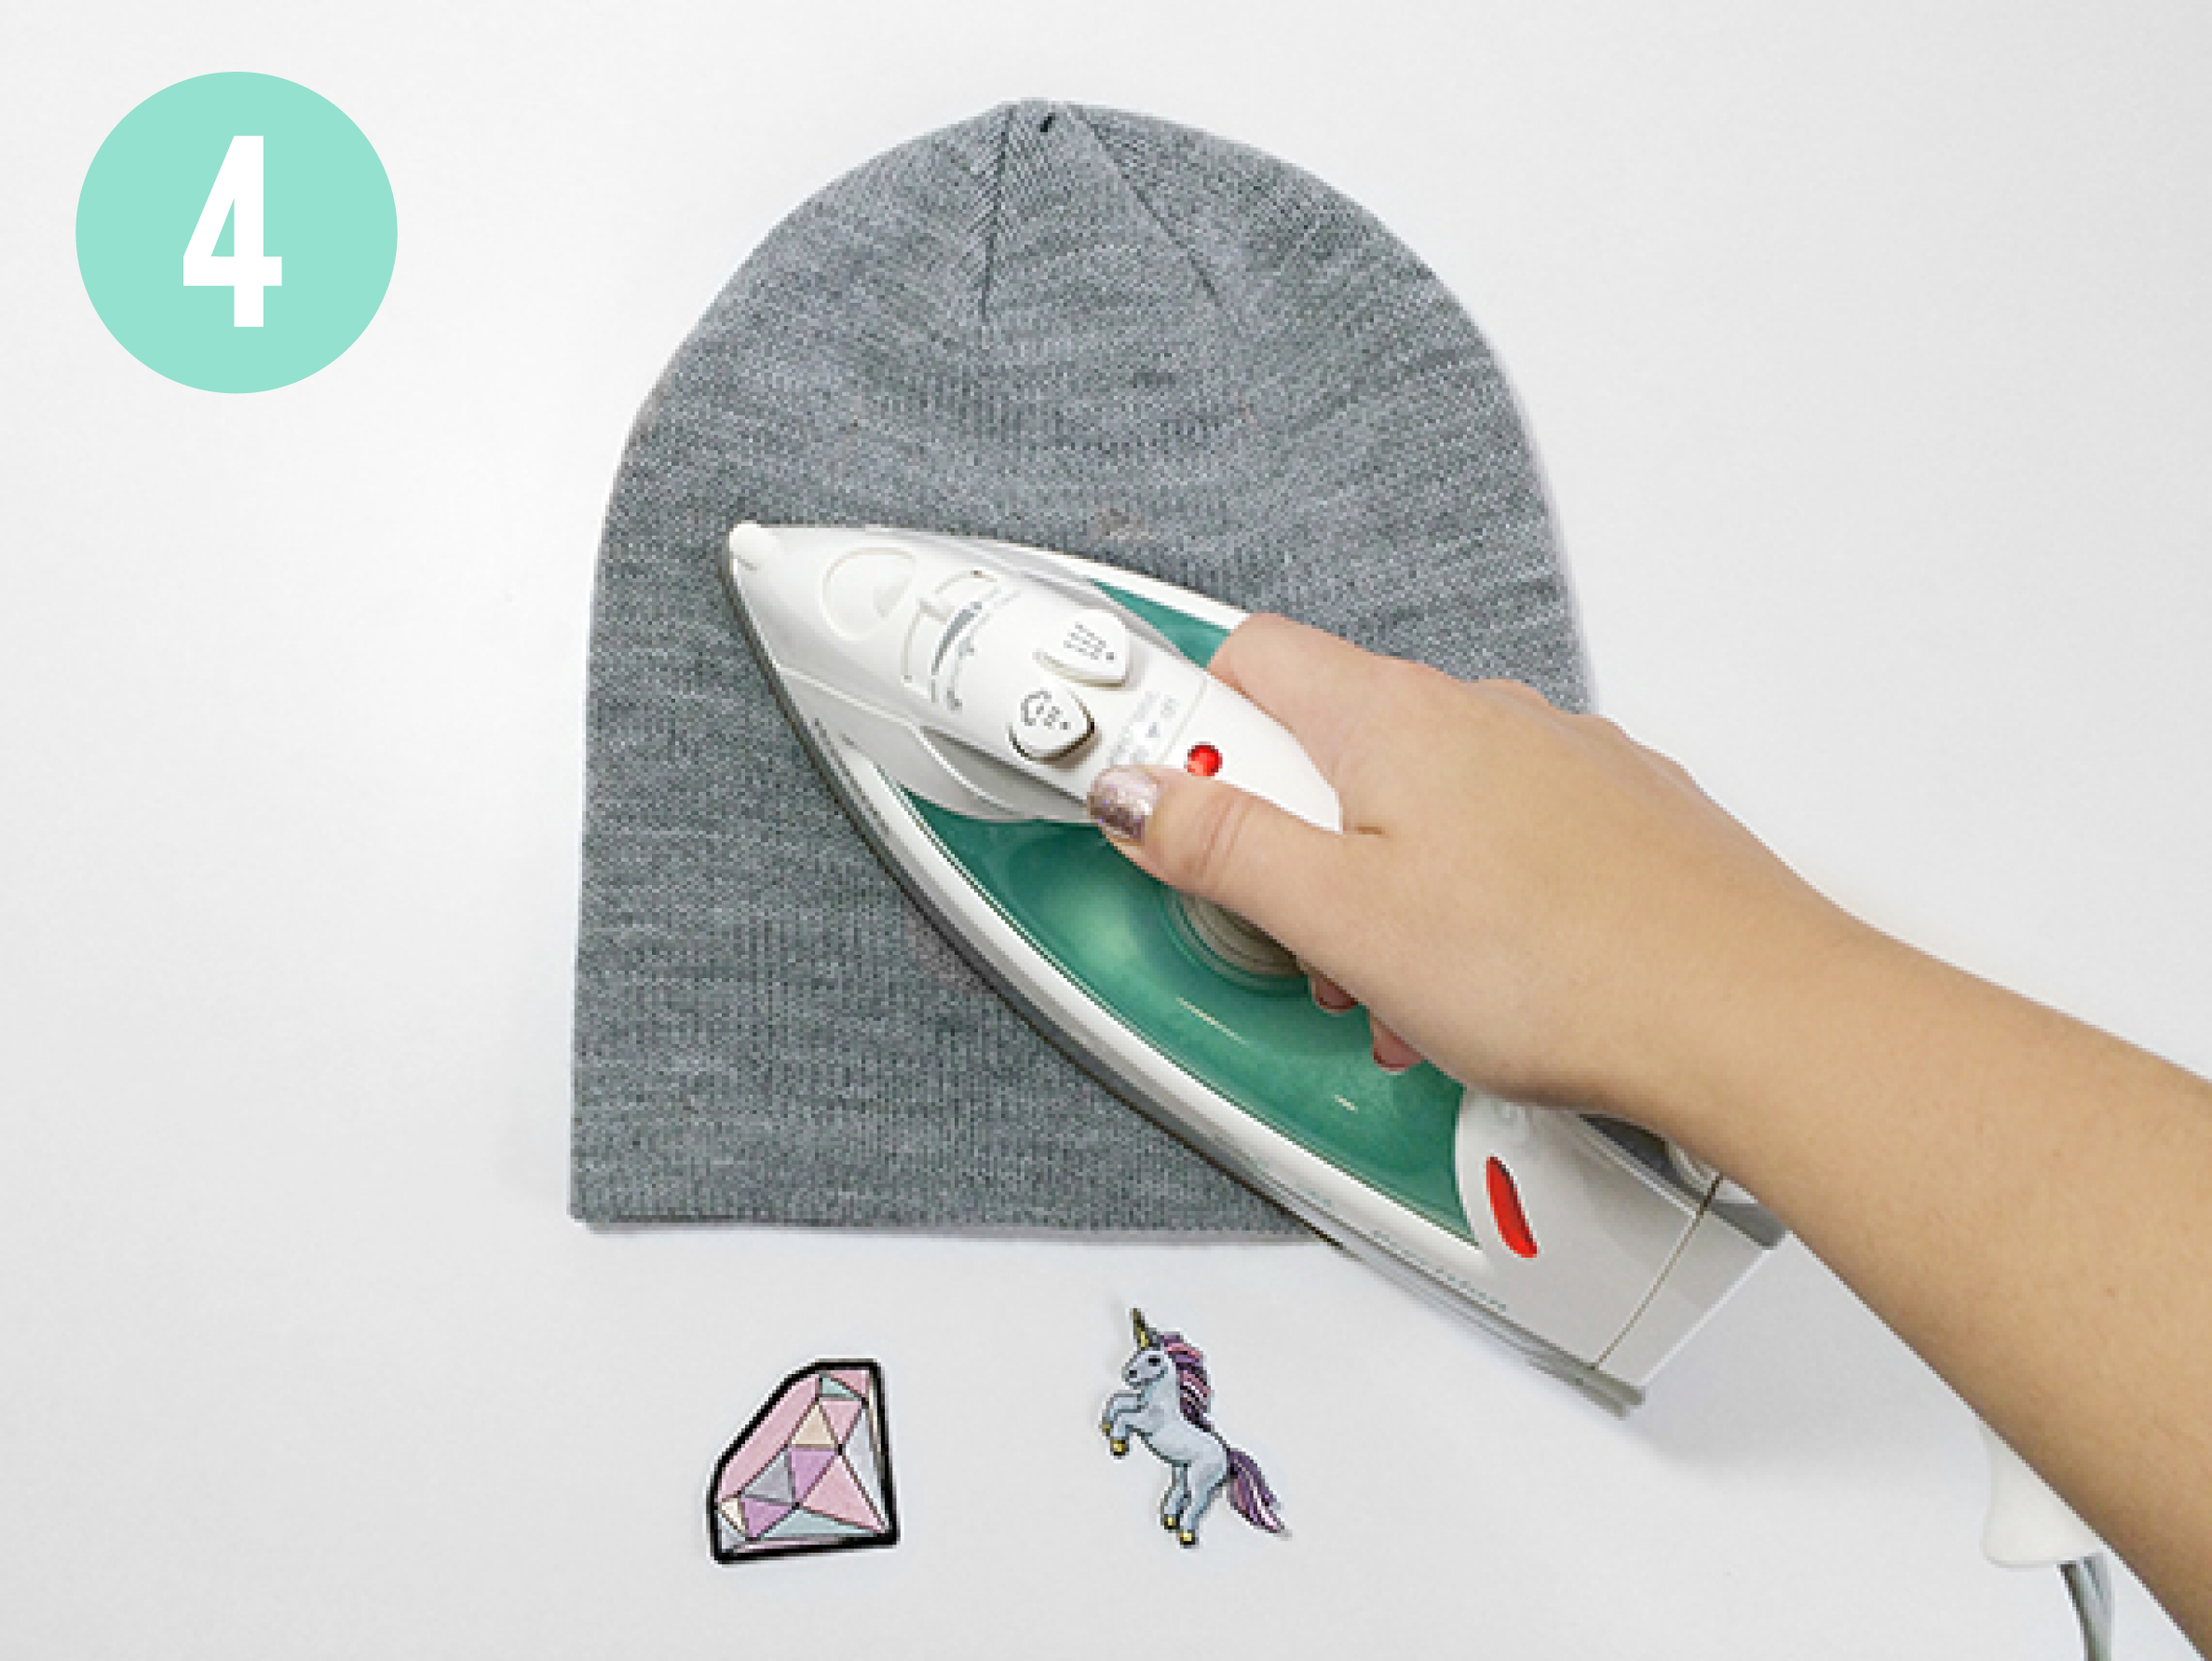
STEP 4: Using the iron, preheat the area where the patch will be attached. 10-20 seconds should do it.
-

STEP 5: Place the patch on the desired spot with the heat seal side against the fabric. Iron patch for 30-60 seconds, applying pressure. This will cause the heat seal to melt & bond with the fabric. Heavier fabrics, such as denim, require more time while lighter fabrics, such as cotton t-shirts, require less. Do not move the iron as this may cause patch to shift. Repeat Steps 4-5 for any additional patches.
-
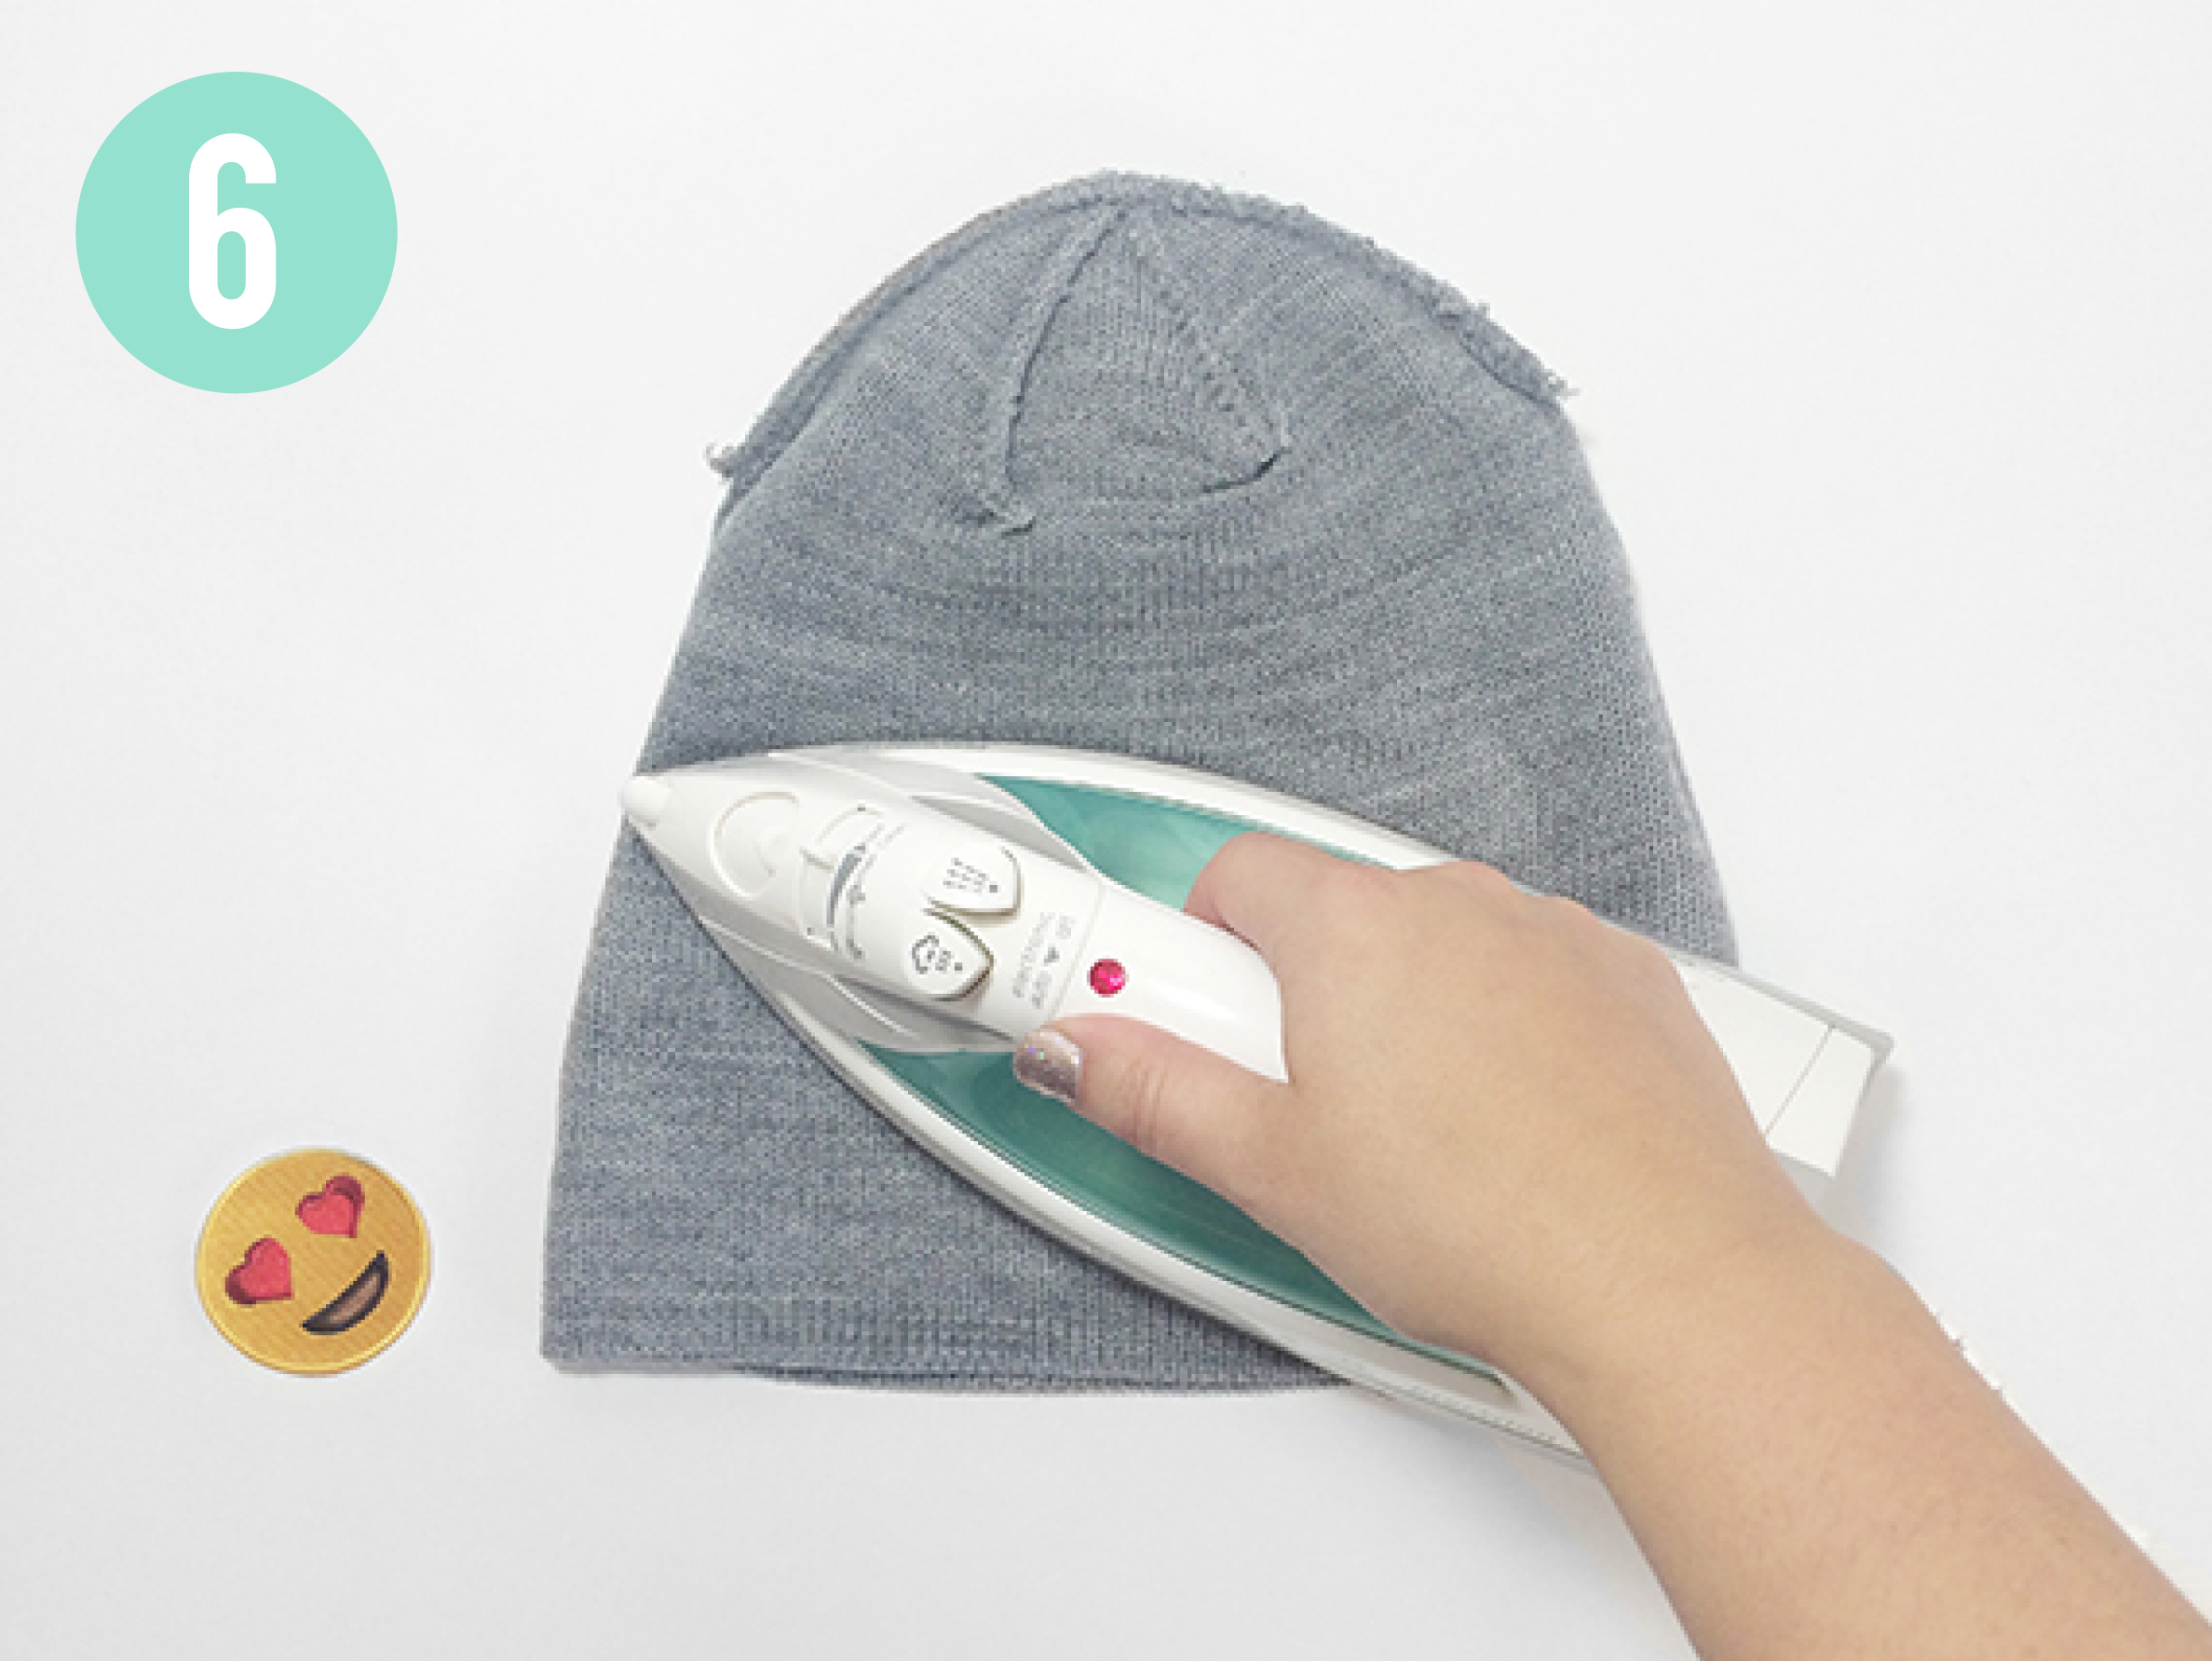
STEP 6: Turn garment inside-out and apply iron to back of patch area for approximately 20-30 seconds.
-
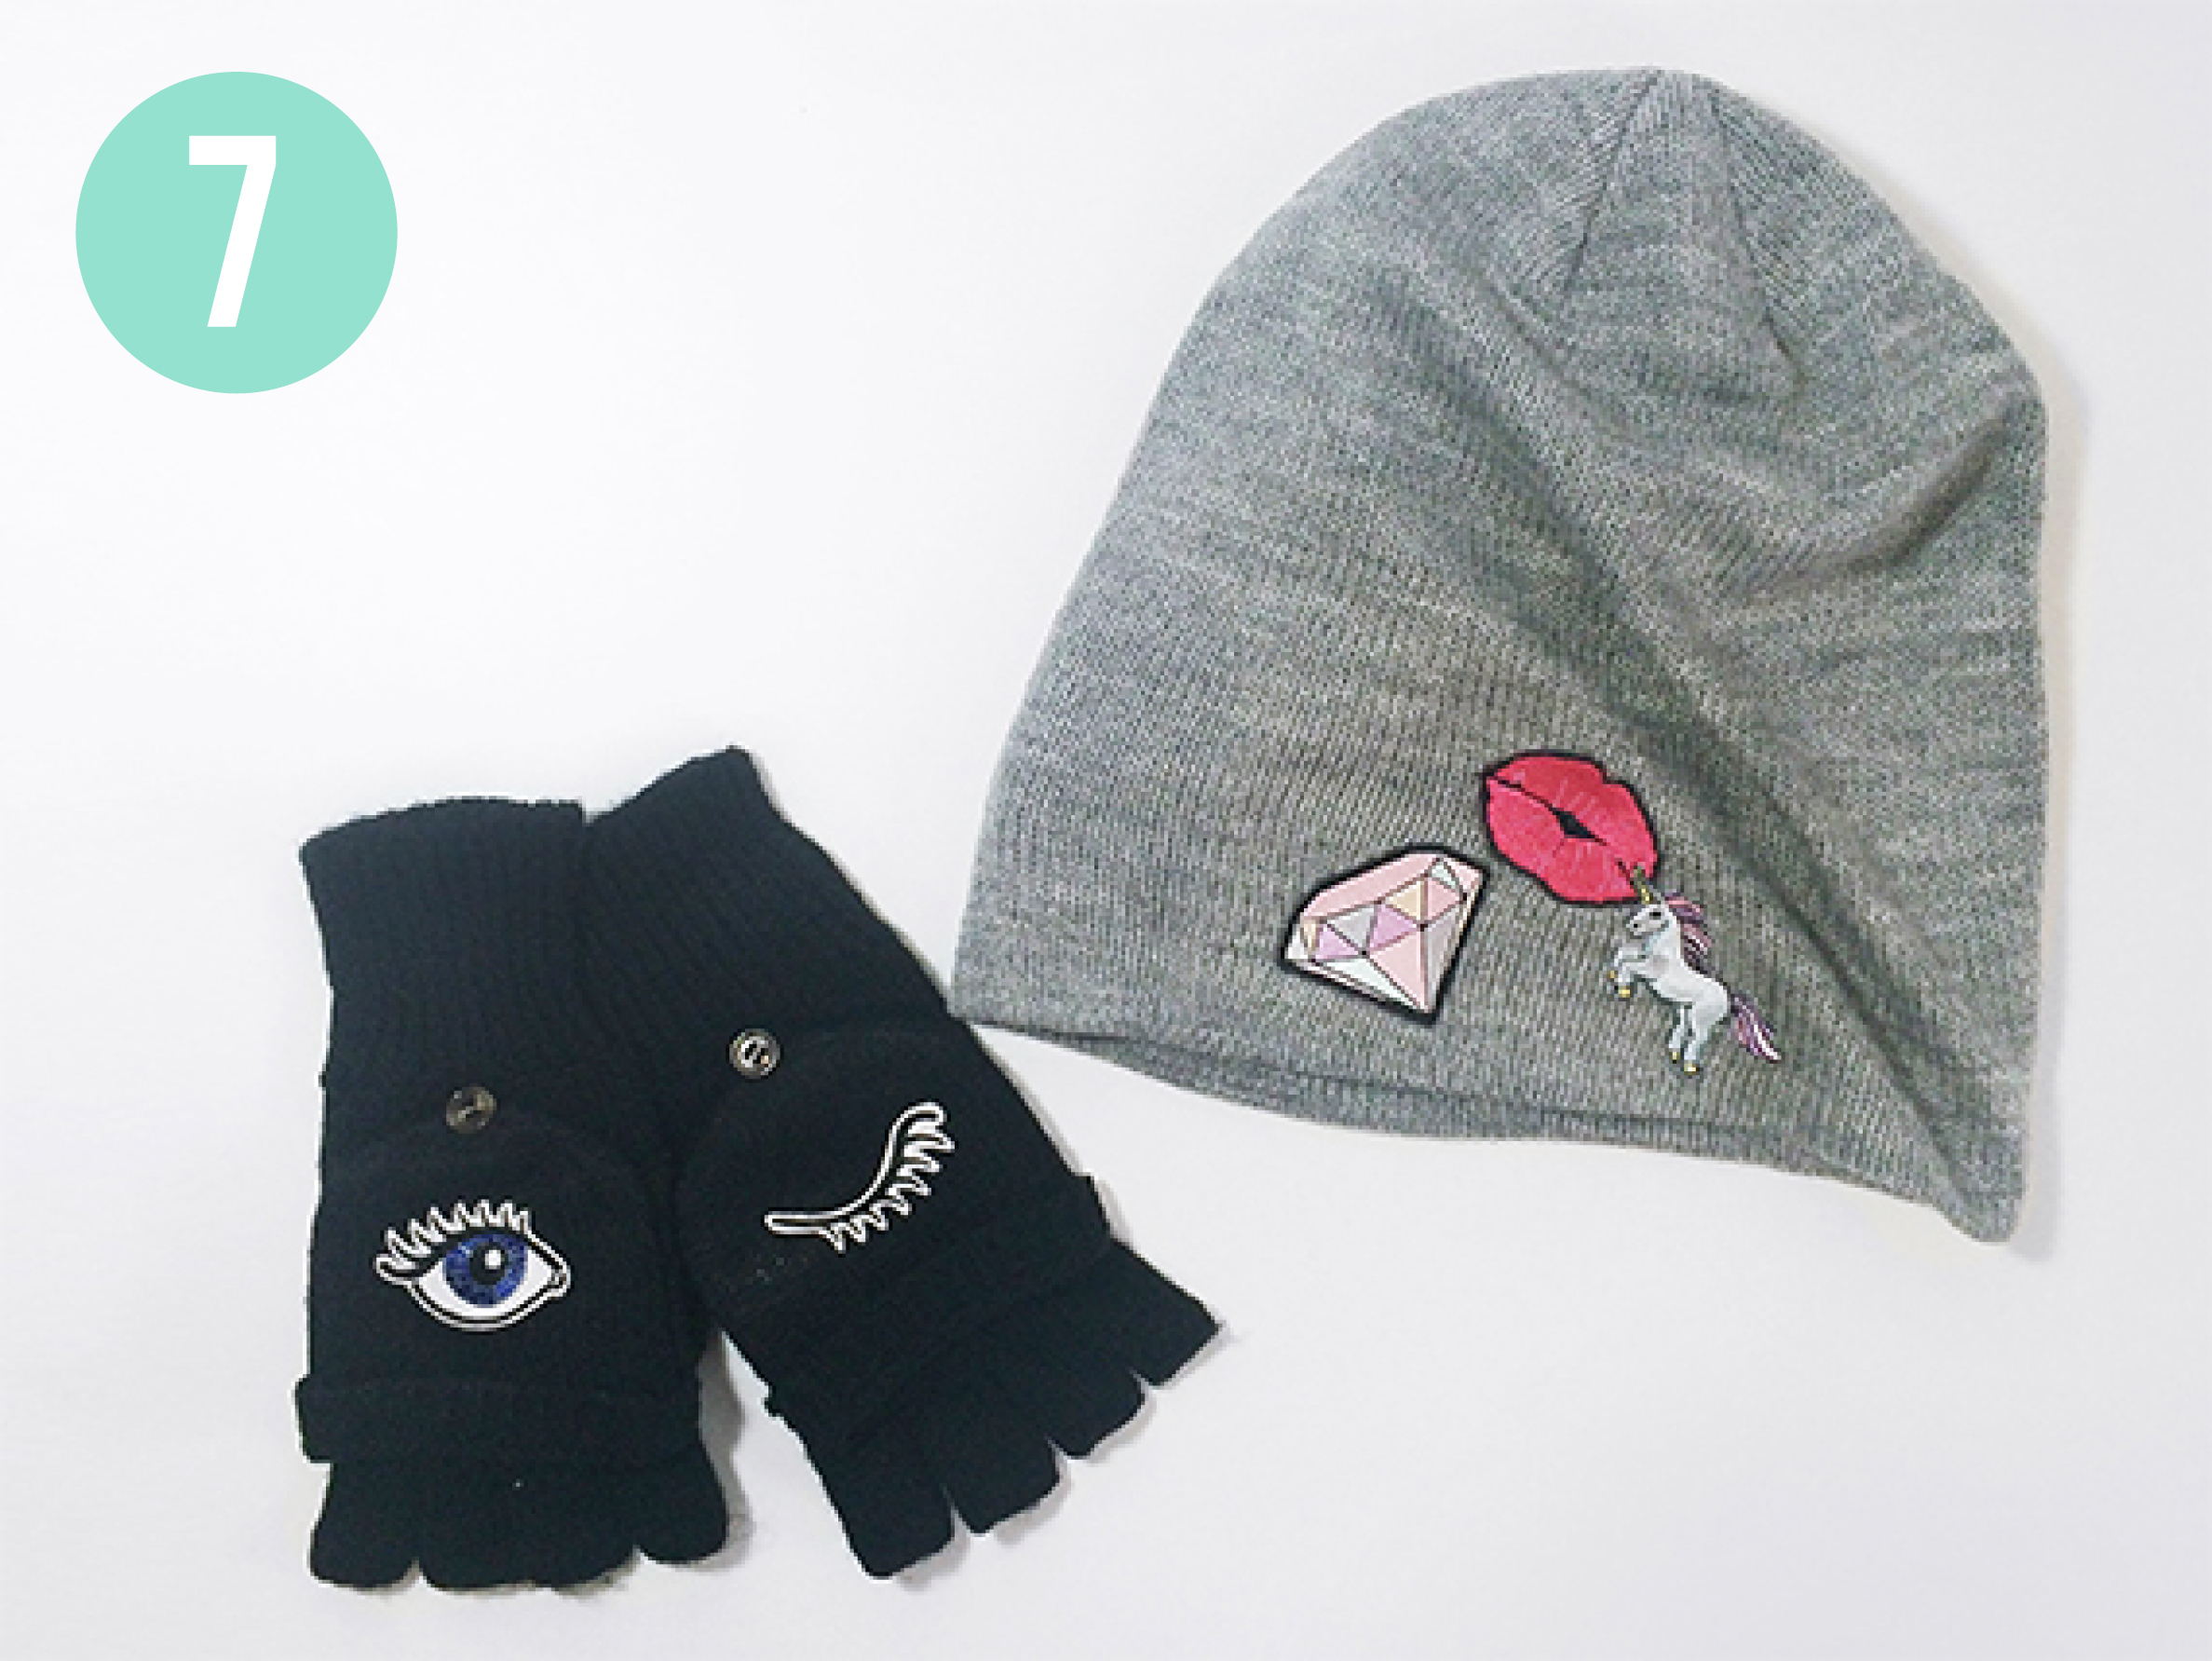
STEP 7: Allow time to cool, then make sure entire patch is adhered to fabric. If not, repeat steps 6-7. How easy (& awesome) was that?!
-
TIP: Care Instructions: Wait 48 hours before washing. To wash, turn garment inside out & hand wash in cool water. Air dry.


Leave a trail of glitter & show off your skills!
P.S. — It looks awesome ☺